So you have now read the basics of photography and also astrophotography. You also have a good idea of the various celestial objects in the night sky.
You are now ready to shoot your very first image of the night sky ! Lets do this...
We will start simple here. Here are the minimum equipment you will need.
A DSLR camera with a kit lens ( Eg: 18 to 55mm lens that usually comes with the camera )
A tripod
My recommendation for the kit
Simple entry-level DSLR cameras like the Canon EOS T7 with its included kit lens and a sturdy Tripod like the Manfrotto 190 Go
Here are the steps :
Mount the DSLR camera onto the tripod
Point the camera at a faraway light source ( like a street lamp ) and see through the viewfinder
Rotate the focus ring of the lens slowly till the street lamp appears in sharp focus. Now don't touch the lens/focus ring. This step will approximate a sharp focus on stars as well.
Change the camera to Manual mode. Select ISO as 400, Shutter speed of 10 seconds, and Aperture as high as your camera can get. It will likely appear as a value called F Stop in your camera, in which case F stop value should be as low as you can get.
Now point the camera at the night sky.
Click gently the shoot button and try not to shake the camera OR set the camera to take a picture after 2 seconds which avoids any camera shake.
It is hard to say what your image will look like as it depends on many factors ( like light pollution, moon phase etc ) Here is what I got when I clicked with this setting. This was my very first image of the night sky.

Now let's take this up one level.
Change ISO to 1600 and increase the shutter speed to 25 seconds and shoot again and watch the magic unfold! And here is the moment of truth ...

It was around midnight on a cold night in Australia but when I saw this image in my camera image preview, my heart sped up and I was awestruck. I was so excited, I ran into the house to wake up my sleeping family and show them what I had clicked!
A portion of this image has a high density of stars and appears like a faint band running diagonally across the image. That is one of the spiral arms of our galaxy, the Milky Way. Also to give some perspective, top left corner of the image we can see a few leaves from a tree, and bottom right corner of the image, we can see the roof of the house.

And here is the annotated image of what I captured. This is the core of the Milky Way including the constellation of Carina showing the bright Carina nebula.
For me, this was the start of my night sky photography journey. Curiosity propelled me to keep exploring and I have not stopped since that day. How can one not look up when the wonders and mysteries of the night sky are waiting for us to explore?
Then on I shot more and this time in a remote place in Canada with dark skies away from light pollution. Of course in hindsight, I could have shot much better images with techniques that I know today, but am proud of these images nonetheless.


A faint glow again is the Milky Way, this time from the Northern Hemisphere.

The annotated image shows the constellation of Cassiopeia and the tail end of the spiral arm from our perspective.

Then I pointed my camera in a slightly more northern sky. once again you see the faint band of our galaxy. This is one of the most interesting parts of the night sky with the constellation Cygnus at its center. As you can see I also was lucky to have captured a shooting star or a meteor streaking across the night sky as it burns in our atmosphere.

The annotated image shows several nebulae including the North America nebula near the tail of the Swan star Deneb.
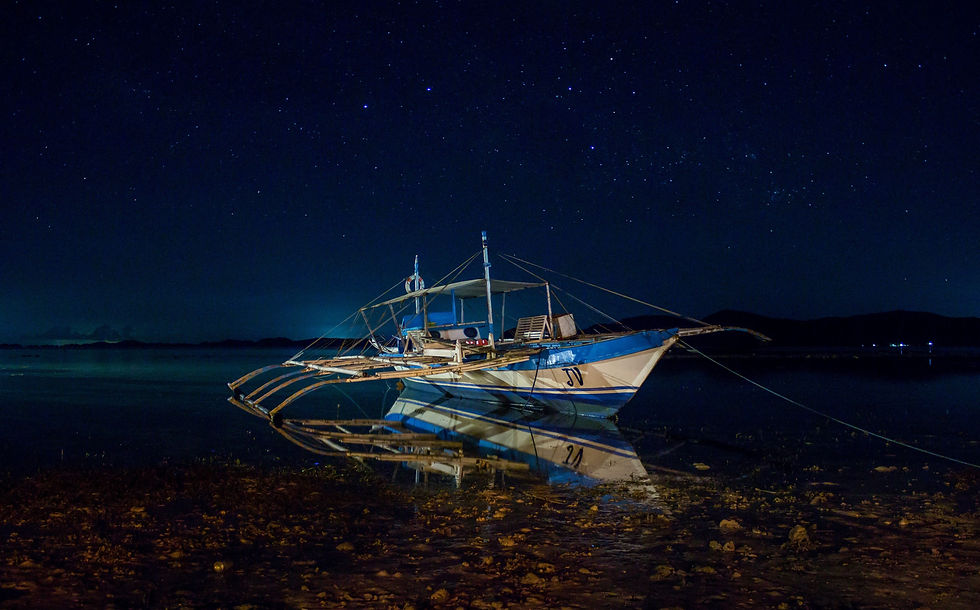
Finally a last couple of images where I improved my photography with subject and context with the night sky as a backdrop. These were shot off a remote island in the Philippines.


And here is the best part. We are just getting started to take our imaging to the next level.
Note: You may not get these exact results and you will have to adjust ISO and shutter speed to get something you like but remember don't increase shutter speed beyond 30 seconds else you will likely start to see star trails ruining your image.
The 500-Rule states that to obtain a clear image of stars without trails, take the number 500 and divide it by the focal length to get your exposure time. For example, a 20 mm lens would call for an exposure of about 25 seconds and theoretically, still obtain the stars without trails.
Finally, you might have to process your images further in image processing software to bring out more details.
My recommendation for the kit ( In case you are looking some guidance and you have missed it at the top of the blog ) : Simple entry-level DSLR cameras like the Canon EOS T7 with its included kit lens and a sturdy Tripod like the Manfrotto 190 Go
There are other cheaper tripods but if you plan to continue astro imaging with just a tripod and star tracker, don't go too cheap. Astrophotography needs a very steady tripod as slight shakes due to wind will ruin all the efforts.


Comments